Imagine a dessert that’s as unique as your cravings, a frozen masterpiece where every spoonful delivers a delightful surprise. Welcome to the wonderful world of kitchen sink ice cream, a whimsical, customizable treat that lives up to its playful name by inviting "everything but the kitchen sink" into its creamy embrace. Far more than just an ice cream sundae, this indulgent creation is a testament to culinary creativity, transforming an ordinary dessert into an extraordinary experience.
Whether you're hosting a lively gathering, seeking the perfect antidote to a scorching summer day, or simply indulging your inner child, kitchen sink ice cream offers an unparalleled journey of flavors and textures. In this ultimate guide, we’ll dive deep into what makes this dessert so special, explore its charming origins, and equip you with all the tips and tricks to craft your own unforgettable batch at home. Get ready to unleash your imagination and discover why kitchen sink ice cream is about to become your new favorite frozen delight!
What Exactly is Kitchen Sink Ice Cream?
At its heart, kitchen sink ice cream is an ultra-customizable frozen dessert that combines a rich, creamy ice cream base with an eclectic medley of sweet, salty, and crunchy add-ins. The term "kitchen sink" itself is a playful idiom, suggesting the inclusion of a vast assortment of items – literally, everything you can find, short of the actual sink! This concept translates perfectly to this dessert, which embraces a philosophy of abundance and variety.
Unlike traditional ice cream, which often focuses on a singular flavor profile, kitchen sink ice cream is a symphony of contrasts. Each bite promises an explosion of different textures – the smooth melt of cream, the satisfying crunch of nuts, the chewy delight of cookies, and the burst of sweet candy. It’s a dessert that celebrates diversity, ensuring that no two scoops are ever quite the same. This inherent flexibility is a major part of its charm, making it a perfect canvas for personal expression and a guaranteed crowd-pleaser.
The Sweet History and Evolution of a Beloved Treat
While the exact moment of its inception is a sweet mystery, kitchen sink ice cream is widely believed to have emerged from American households during the 20th century. Its origins are rooted in a spirit of resourcefulness and creativity, as families sought ingenious ways to utilize leftover ingredients and an assortment of toppings they had on hand. Picture post-holiday pantries brimming with half-eaten candy bags, stray cookie crumbs, and various nuts – all finding a glorious second life swirled into a churned ice cream base.
What began as a practical solution quickly evolved into a cherished tradition. People started experimenting, mixing and matching their favorite ice cream flavors with an ever-expanding array of goodies. This playful experimentation paved the way for the virtually limitless combinations we see today. From humble beginnings, the concept blossomed into a phenomenon, characterized by its overflowing variety and delightful unpredictability. Whether whipped up at home for a spontaneous treat or featured as a specialty item on a dessert menu, kitchen sink ice cream has solidified its place as a beloved option for those who appreciate adventure and indulgence in their sweet moments. For more on its fascinating journey, consider reading Understanding Kitchen Sink Ice Cream: Origins & Homemade Tips.
Why Kitchen Sink Ice Cream is a Crowd-Pleaser (and Your New Favorite)
The appeal of kitchen sink ice cream extends far beyond its delicious taste. It’s a dessert that brings joy, fosters creativity, and truly caters to everyone. Here’s why this customizable frozen treat is an absolute game-changer:
- Unrivaled Customization: This is the ultimate "choose your own adventure" dessert. From the base flavor – be it classic vanilla, rich chocolate, or even a tangy frozen yogurt – to the endless array of mix-ins, every element can be tailored. This freedom allows individuals to truly showcase their personal tastes and preferences.
- Caters to All Tastes: Hosting a gathering where everyone has different dessert preferences? Kitchen sink ice cream is your answer. You can incorporate crunchy, chewy, sweet, salty, fruity, and chocolatey elements all in one spectacular dish. It’s a diplomatic dessert that ensures every guest finds something they adore. For more insights into its party potential, check out Why Kitchen Sink Ice Cream is the Ultimate Party Dessert.
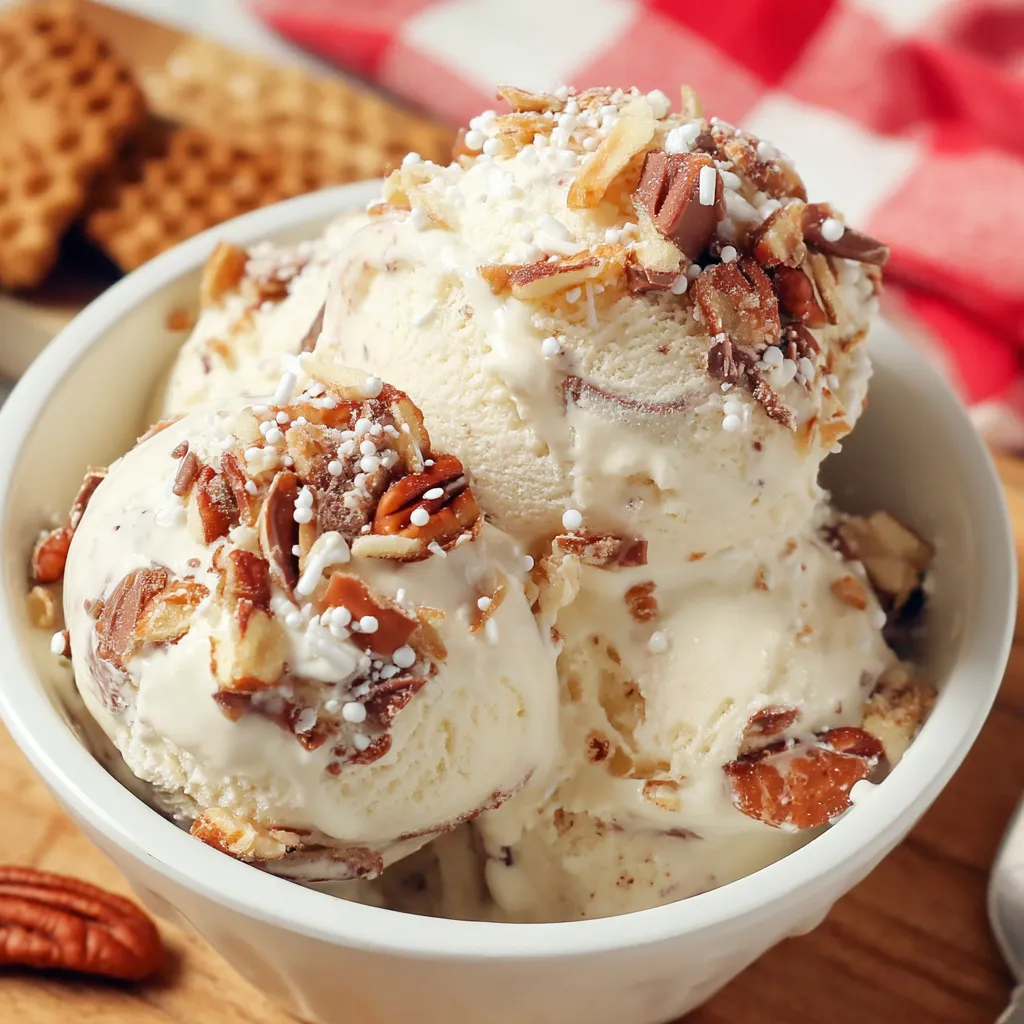
- Visual Spectacle: Let's be honest, we eat with our eyes first! The vibrant, colorful presentation of kitchen sink ice cream is undeniably enticing. Its layered textures, often enhanced by glossy syrups and a confetti-like sprinkle of toppings, make it a visually stunning dessert that's perfect for social media snaps and creating a "wow" factor at any event.
- Endless Fun & Engagement: The process of making and serving kitchen sink ice cream is inherently fun. It encourages interaction as people select their favorite add-ins, sparking conversation and shared enjoyment. It’s an interactive experience that appeals to both kids and adults alike.
- Perfect for Any Occasion: Whether it’s a casual weeknight treat, a birthday celebration, a summer BBQ, or a holiday feast, kitchen sink ice cream effortlessly fits into any scenario. It’s versatile, celebratory, and always a hit.
Crafting Your Own Masterpiece: A Step-by-Step Guide
Making kitchen sink ice cream at home is a rewarding and incredibly fun process. It empowers you to be the mad scientist of your own dessert lab! Here’s a simple, step-by-step guide to help you create the ultimate kitchen sink ice cream creation:
The Perfect Base
The foundation of any great kitchen sink ice cream is a high-quality, rich ice cream base. While you can certainly make your own from scratch (using cream, milk, sugar, and vanilla), a premium store-bought vanilla or chocolate ice cream works wonderfully as a shortcut. For a slightly different twist, consider a plain frozen yogurt or even a sorbet if you want a lighter, fruitier base.
- Tip: Allow your ice cream base to soften slightly at room temperature for about 10-15 minutes before mixing. This makes it easier to swirl in your chosen add-ins without it becoming too soupy or refreezing too quickly.
Unleashing the Add-In Avalanche
This is where the magic truly happens! Gather an exciting assortment of your favorite goodies. The more variety, the better! Think about different textures and flavor profiles:
- Cookies & Baked Goods: Crushed Oreos, chocolate chip cookies, graham crackers, brownie chunks, shortbread, waffle cone pieces.
- Candies: Chocolate chips (milk, dark, white), M&M's, peanut butter cups (chopped), gummy bears, butterscotch chips, toffee bits.
- Nuts & Seeds: Chopped peanuts, pecans, walnuts, almonds, pistachios, sunflower seeds, shredded coconut.
- Fruits: Fresh berries (chopped), dried cranberries, raisins, banana slices (best if added just before serving).
- Sauces & Syrups: Caramel swirl, hot fudge, strawberry syrup, peanut butter drizzle.
- Unexpected Delights: Pretzels (for a salty crunch), mini marshmallows, cereal pieces, even a sprinkle of sea salt.
Chop larger items into bite-sized pieces so they distribute evenly and are easy to scoop.
The Layering Magic
Once your base is softened and your add-ins are ready, it's time to assemble. You'll want a freezer-safe container, ideally a loaf pan or a deep casserole dish, lined with parchment paper for easy removal.
- First Layer: Spread about a third of your softened ice cream base into the bottom of the container.
- Add-In Sprinkle: Liberally scatter a selection of your chosen add-ins over the ice cream layer. Don't be shy!
- Drizzle: If using sauces, drizzle some over the add-ins.
- Repeat: Continue layering ice cream, add-ins, and drizzles until your container is full, ending with a generous top layer of delicious additions. You can gently swirl with a knife to create beautiful ribbons of flavor, or keep the layers distinct for a surprise in every scoop.
Freezing for Perfection
Cover your container tightly with plastic wrap or a lid. This is crucial for preventing ice crystals and freezer burn. Place it in the freezer for at least 4-6 hours, or preferably overnight, until it's completely firm. Patience is key here – a properly frozen batch will have the best texture and hold its shape.
- Pro Tip: For extra creaminess, consider tempering your ice cream slightly before serving. Remove it from the freezer 10-15 minutes before you plan to scoop.
Serving Suggestions and Extra Toppings
When it’s time to serve, don't hold back! Offer an extra array of toppings on the side for guests to customize their individual bowls further. Whipped cream, sprinkles, more sauces, and even fresh fruit slices can elevate the experience. Serve in colorful bowls or waffle cones for an extra touch of delight.
This ultimate guide to kitchen sink ice cream should empower you to create a dessert that is truly your own. It's a culinary adventure, a canvas for creativity, and a surefire way to bring smiles to every face. So, gather your favorite treats, get churning, and prepare to delight in a dessert that's as unique and wonderful as you are!
